When it comes to dialing in your favorite hunting or 3d rig, there are many many different means to an end. Paper tuning, broadhead tuning, creep tuning, french tuning, bareshaft tuning... the list goes on and on. Some are basic, some are borderline hair-splitting. If you read any of the hunting and archery forums around the web, you'll notice that everyone has their own tuning routine, and many will claim that "their way" is the best way. Even though some methods may be more effective than others, it's really just a matter of personal preference. For me, I like to start by paper tuning and then dial it in by walk-back tuning. It's an extremely simple, yet effective tuning method and even though there are hundreds of how-to guides out there on the web, I thought TOO was a fitting destination for another.
When I set up a new rest on a bow, I start by paper tuning in the garage from about 6' away from the paper. I'll tweak the rest and/or my nock point to adjust for any high/low tears, and if I get a bad left/right tear I may adjust a little bit for that too... However, I've discovered that sometimes you can really end up "chasing your tail" trying to get rid of a left or right tear through paper. Something as simple as an inconsistent grip can wreak havoc on your paper tuning success. So, once my nock point and rest height are set, I move on to walk-back tuning.
Ok, first step... Sight in your first pin at about 10 yds. Make sure it is DEAD NUTS on the money. With the speed of today's bows, this will also put you pretty close to being sighted in at 20... but nevermind that, focus on 10 yds for right now.
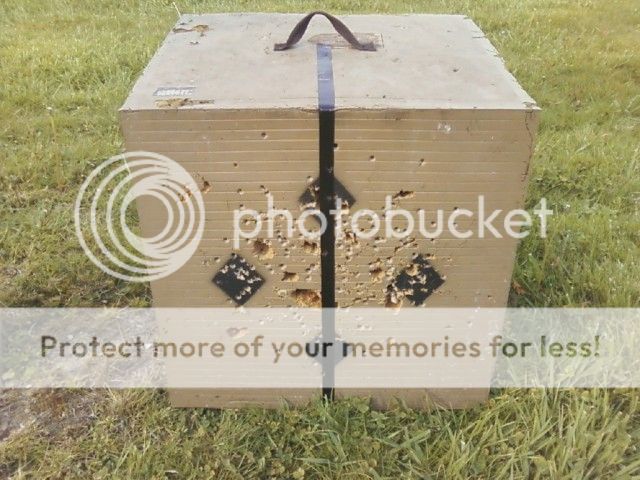
Next, place a piece of electrical tape vertically down the center of your target.

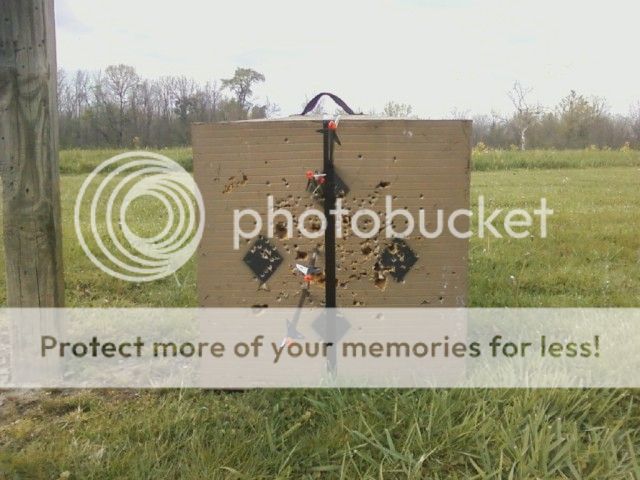
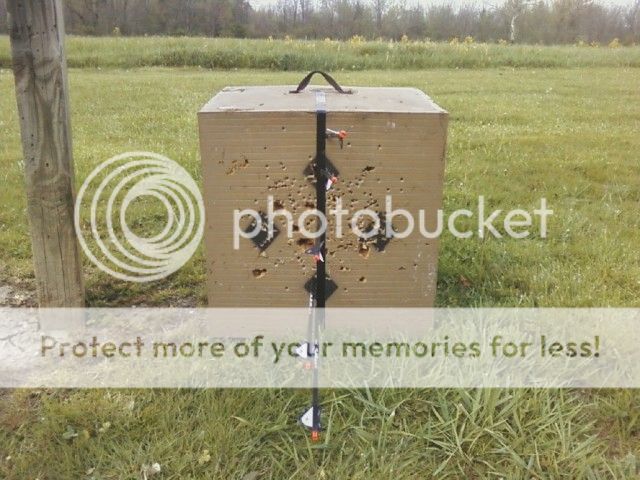
Now, take a shot at the black tape somewhere near the top of your target. Make sure your arrow is in the tape. Once you do that, walk back 10 or 15 yards, aim at the SAME SPOT with the SAME PIN as your first shot. Make sure that if you have a sight level, you use it. Walk back another 10 or 15 yards and do the same thing... same point of aim, same pin. Obviously, each shot will be lower and lower the farther you walk back. What you want to see is your arrows all hitting on or very very close to that black tape.
Let's say your arrows do not fall directly below each other on the tape. Instead, you end up with something that looks like this...

Your arrows are moving slightly LEFT as you get farther away from the target. This means that your arrow rest is just slightly too far LEFT. To resolve this, move your rest ever-so-slightly to the RIGHT... I'm talking like a 1/16th of an inch or less at a time. Then go back to 10 yds and start over. If you had to move your rest a bunch, you may notice that you have to readjust your sight windage to hit dead nuts at 10 again. This is normal. Re-sight it in and start the process over... 10 yds and shoot, walk back to 25 and shoot, walk back to 40 and shoot. If your arrows then taper off to the right of the black tape, you've moved your rest too far.
This is what you want to end up with... all of your arrows falling directly below each on that black tape.

Now here's the thing... In order for walk-back tuning to be effective, you need to be fresh and take good quality shots. If you feel like you've pulled a shot, don't use that arrow as a guide. Make sure you're using your sight level and you're grip is consistent. Also make sure that your arrows are spined correctly for the bow you're shooting and your arrows/broadheads are properly squared.
If you follow the steps above, I guarantee you will have great results. You will be able to shoot virtually any broadhead... fixed, mechanicals, whatever... just like they were your field points. Walk-back tuning is extremely simple, takes very little time, and is about as effective a tuning method as you're going to find.
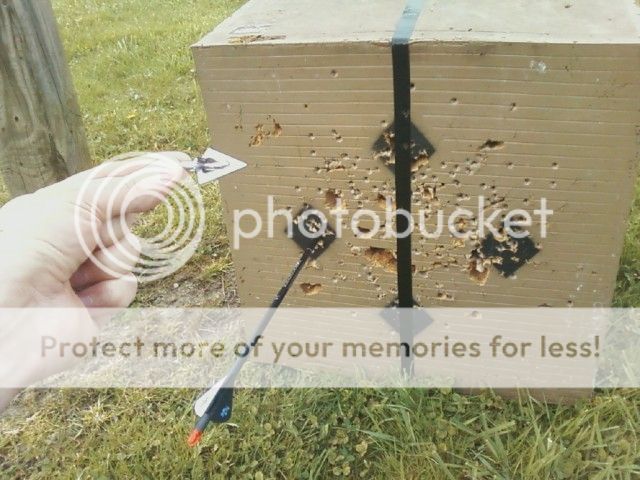
By the way, the proof is in the pudding. Here is the first shot with a fixed blade broadhead (Steel Force Phathead 100 gr) from 30 yds, immediately after walk-back tuning my bow...

Good luck!
When I set up a new rest on a bow, I start by paper tuning in the garage from about 6' away from the paper. I'll tweak the rest and/or my nock point to adjust for any high/low tears, and if I get a bad left/right tear I may adjust a little bit for that too... However, I've discovered that sometimes you can really end up "chasing your tail" trying to get rid of a left or right tear through paper. Something as simple as an inconsistent grip can wreak havoc on your paper tuning success. So, once my nock point and rest height are set, I move on to walk-back tuning.
Ok, first step... Sight in your first pin at about 10 yds. Make sure it is DEAD NUTS on the money. With the speed of today's bows, this will also put you pretty close to being sighted in at 20... but nevermind that, focus on 10 yds for right now.
Next, place a piece of electrical tape vertically down the center of your target.

Now, take a shot at the black tape somewhere near the top of your target. Make sure your arrow is in the tape. Once you do that, walk back 10 or 15 yards, aim at the SAME SPOT with the SAME PIN as your first shot. Make sure that if you have a sight level, you use it. Walk back another 10 or 15 yards and do the same thing... same point of aim, same pin. Obviously, each shot will be lower and lower the farther you walk back. What you want to see is your arrows all hitting on or very very close to that black tape.
Let's say your arrows do not fall directly below each other on the tape. Instead, you end up with something that looks like this...

Your arrows are moving slightly LEFT as you get farther away from the target. This means that your arrow rest is just slightly too far LEFT. To resolve this, move your rest ever-so-slightly to the RIGHT... I'm talking like a 1/16th of an inch or less at a time. Then go back to 10 yds and start over. If you had to move your rest a bunch, you may notice that you have to readjust your sight windage to hit dead nuts at 10 again. This is normal. Re-sight it in and start the process over... 10 yds and shoot, walk back to 25 and shoot, walk back to 40 and shoot. If your arrows then taper off to the right of the black tape, you've moved your rest too far.
This is what you want to end up with... all of your arrows falling directly below each on that black tape.

Now here's the thing... In order for walk-back tuning to be effective, you need to be fresh and take good quality shots. If you feel like you've pulled a shot, don't use that arrow as a guide. Make sure you're using your sight level and you're grip is consistent. Also make sure that your arrows are spined correctly for the bow you're shooting and your arrows/broadheads are properly squared.
If you follow the steps above, I guarantee you will have great results. You will be able to shoot virtually any broadhead... fixed, mechanicals, whatever... just like they were your field points. Walk-back tuning is extremely simple, takes very little time, and is about as effective a tuning method as you're going to find.
By the way, the proof is in the pudding. Here is the first shot with a fixed blade broadhead (Steel Force Phathead 100 gr) from 30 yds, immediately after walk-back tuning my bow...

Good luck!
